Welcome to Palates & Palettes, a series of (food) photography posts exploring various elements of food photography because we savour the colours of the food as well as the ‘canvas’ it lays upon.
Creating backgrounds can be done in a variety of ways. Everything from paper to fabric is fair game. Did I mention wood? Today, my focus is on creating coloured backdrops from wood.
Creating wooden backgrounds are simple and cheap.
Step 1: Find the wood
A forage in your garage or backyard might unearth prime material for this venture. The alternatives – DIY shops and home decor outfits, where samples are often abundant and cheap, if not free. Other options? Markets: from general wares markets (the very place where I bought a set of 6 small, plain, unpolished chopping boards for about 3 euros) to flea markets and garage sales. Though I haven’t been blessed to find gorgeous antique wood surfaces, my hopes are not yet dashed.
Step 2: Decide on colour
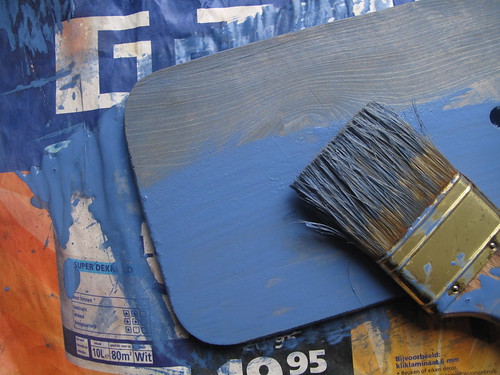
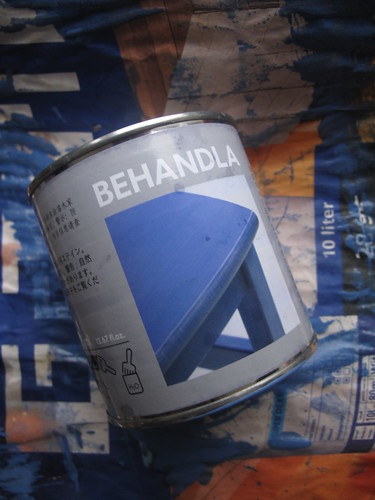
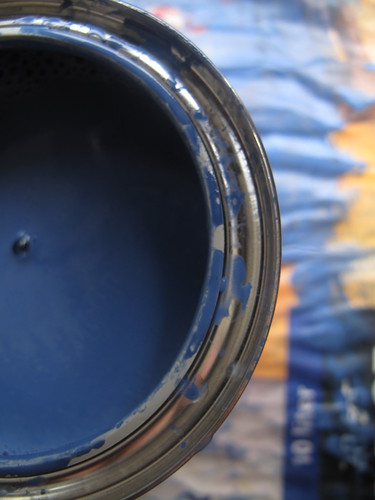
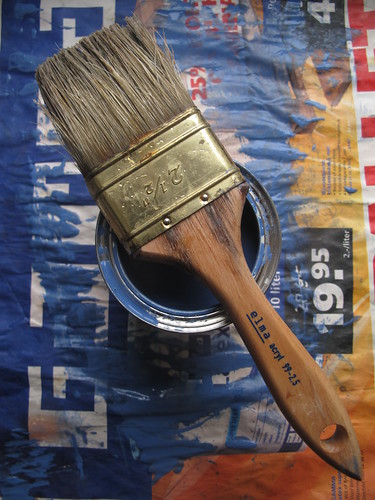
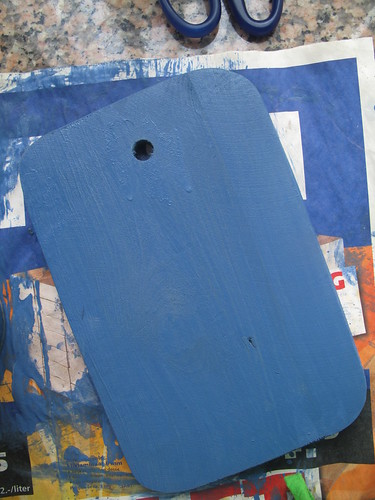
Ikea, again your garage/home stores, craft stores, DIY shops and even supermarkets are superb hunting grounds for a variety of paint to work into your design projects. I got a can of blue paint – a rather large one though for a few euros. Someday, I may embark on painting our dining table a cool blue….perhaps not. I’m sure you can find smaller tins/tubes to experiment with. And to be honest, it wasn’t at all a big deal. I simply followed the instructions on the tin of paint, ensured my workspace was well-ventilated and got to work.
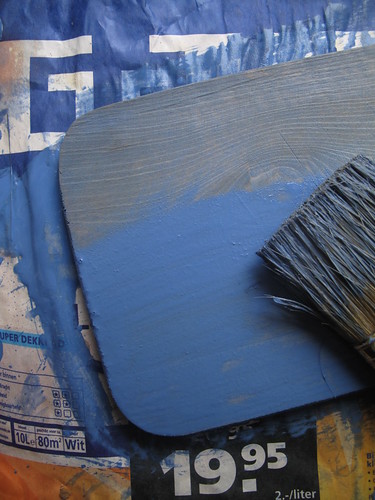
After a couple of coats, I decided that I wanted richer colour and applied two more coats. In a day, my board was ready. For use. And that’s step 3. for the next step.
Step 3: Sandpaper to highlight wood grain (optional)
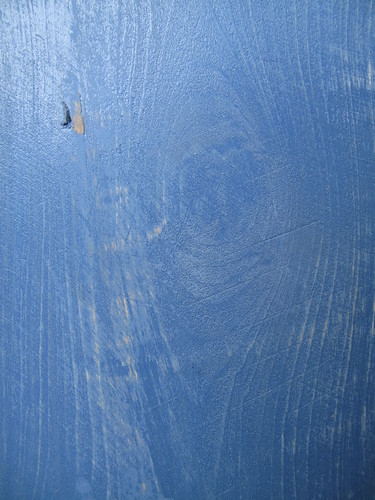
Thanks to Kris of Bake in Paris, who left a comment after I published this post: ‘Just an idea… you might want to use sand paper to scrub on the blue surface to achieve unfinished look.. you can highlight the wood grain in this way too’. So I did. And updated the text.
Step 4: Dive in and use
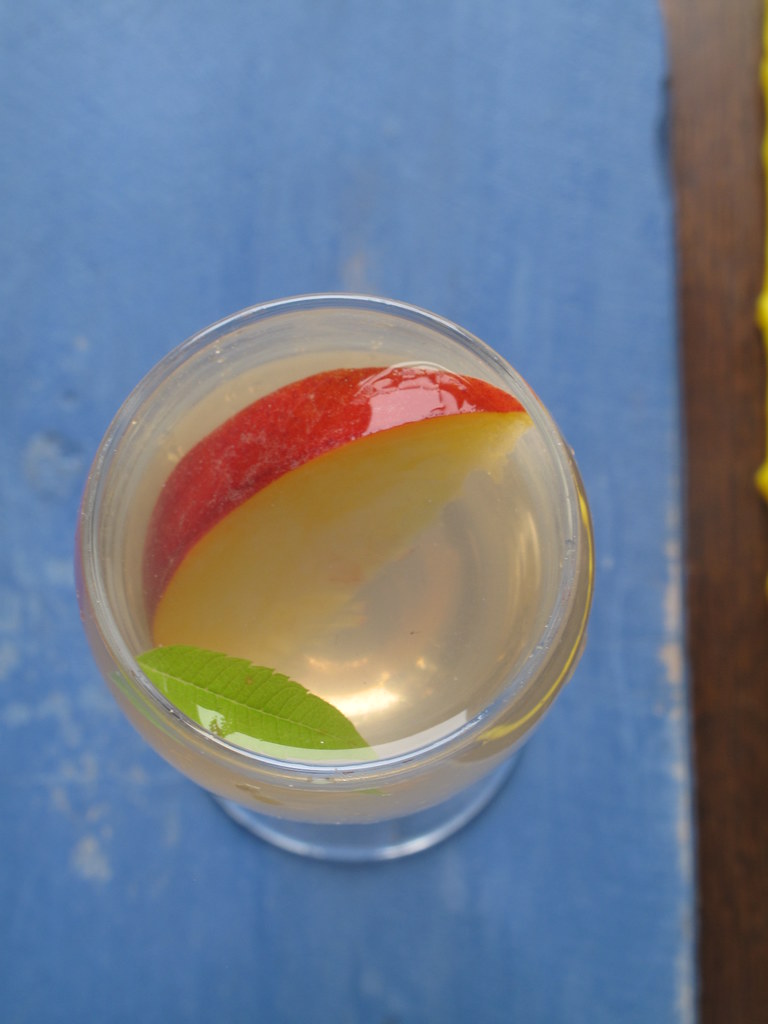
Decide how you want to the painted boards to feature. Like I did and while this isn’t ‘great’ use of the board, I have more planned!
Other cool links
llva of Lucullian Delight’s Food Props on Sunday, Part 2 (of 8), on backgrounds
Diane of White on Rice couple on Food Blog Forum, Making textured backdrops for food photography
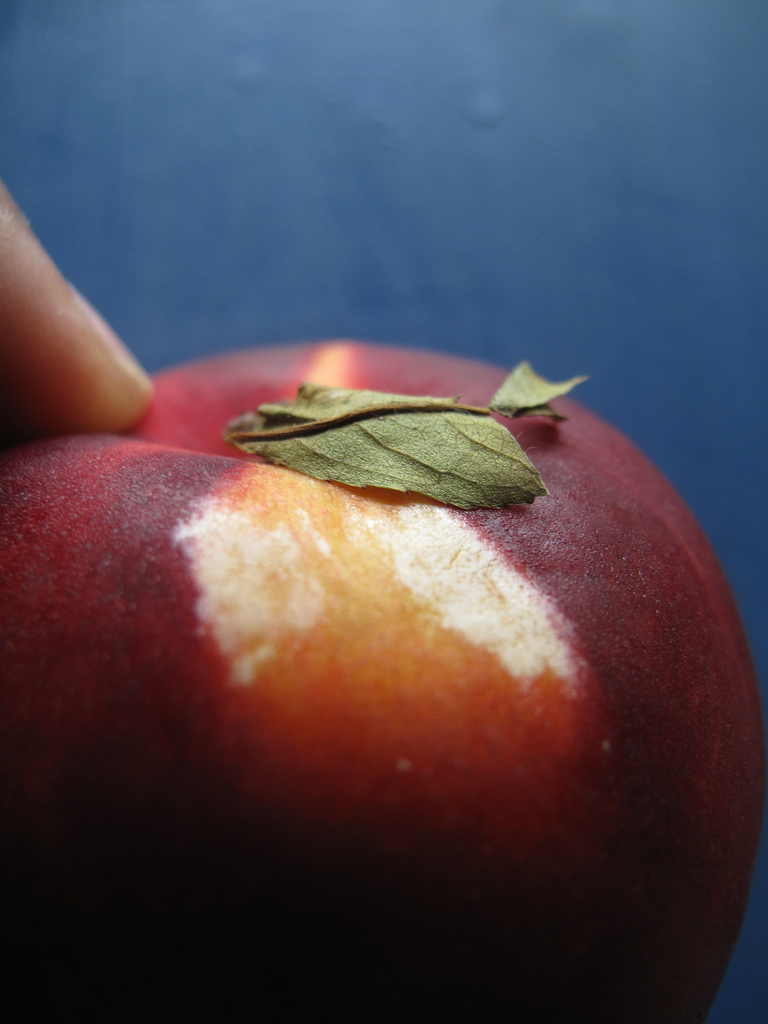
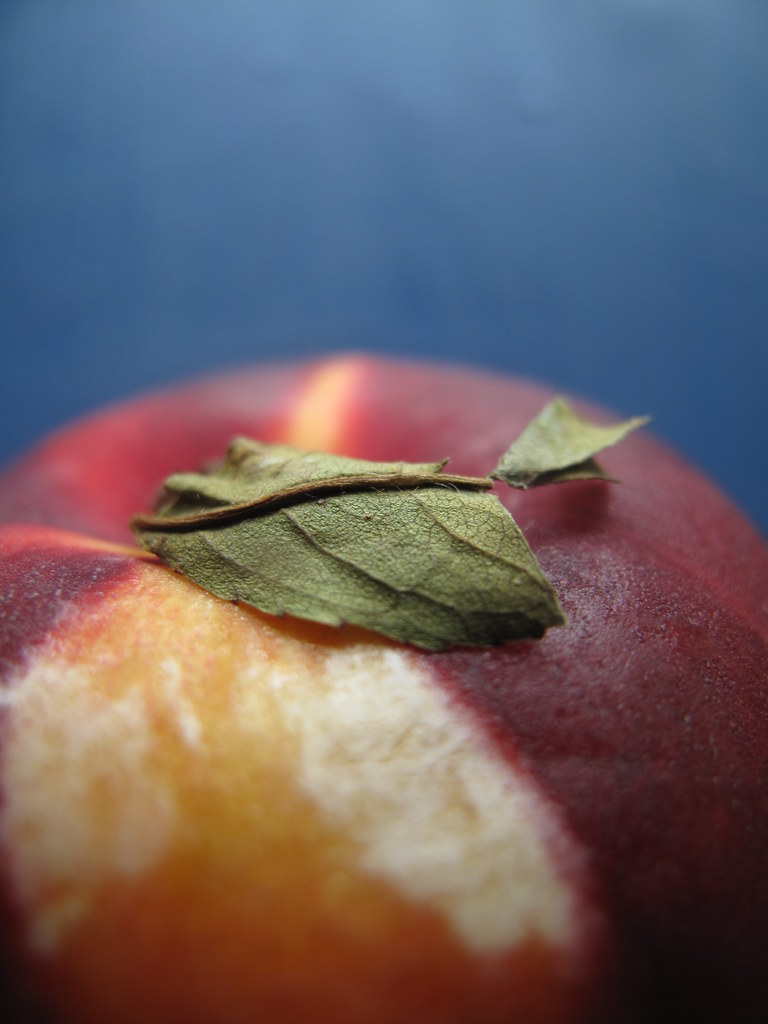 What are you favourite backgrounds for your food photos?
[wpurp-searchable-recipe]Palates & Palettes: Painting Backgrounds for Food Photography – – – [/wpurp-searchable-recipe]


Leave a Reply