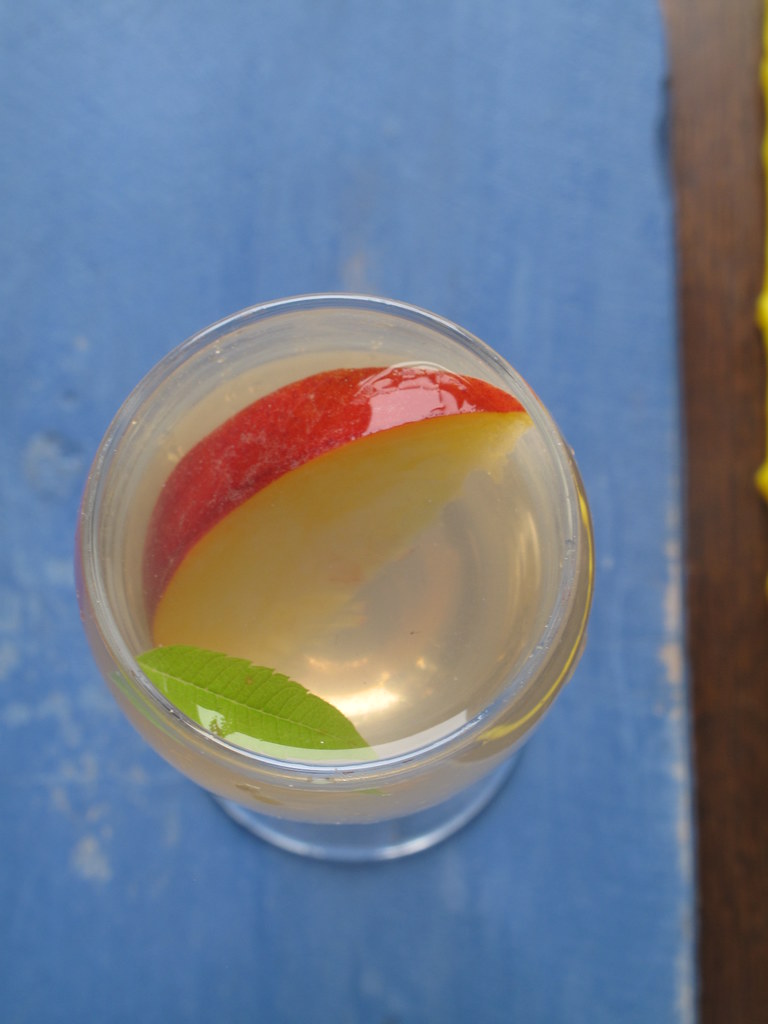
Palates & Palettes: Painting Backgrounds for Food Photography

Welcome to Palates & Palettes, a series of (food) photography posts exploring various elements of food photography because we savour the colours of the food as well as the ‘canvas’ it lays upon.

IMG_0056—–♥♥♥—–

Creating backgrounds can be done in a variety of ways. Everything from paper to fabric is fair game. Did I mention wood? Today, my focus is on creating coloured backdrops from wood.

Creating wooden backgrounds are simple and cheap.

Step 1: Find the wood

A forage in your garage or backyard might unearth prime material for this venture. The alternatives – DIY shops and home decor outfits, where samples are often abundant and cheap, if not free. Other options? Markets: from general wares markets (the very place where I bought a set of 6 small, plain, unpolished chopping boards for about 3 euros) to flea markets and garage sales. Though I haven’t been blessed to find gorgeous antique wood surfaces, my hopes are not yet dashed.

IMG_9592

Step 2: Decide on colour

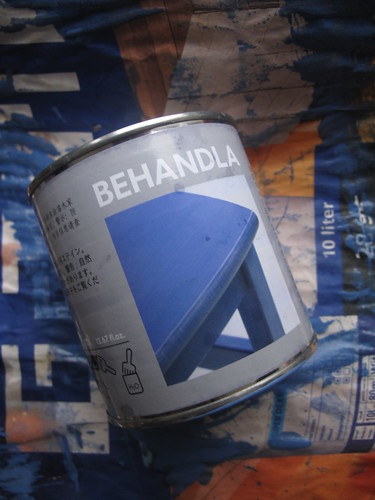
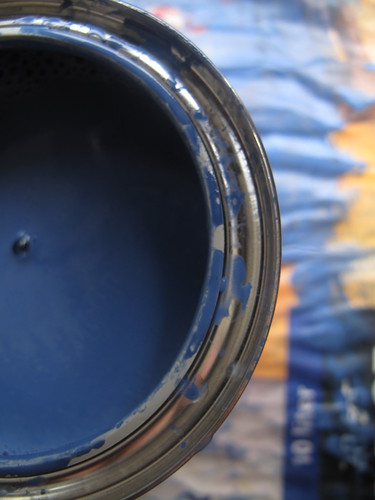
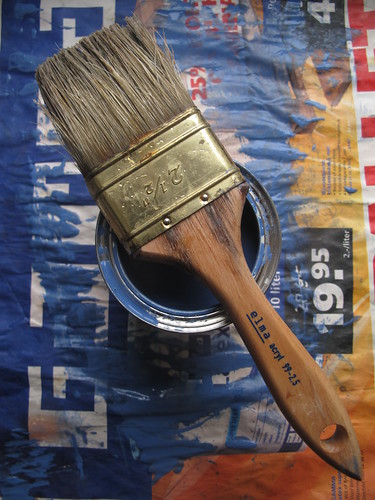
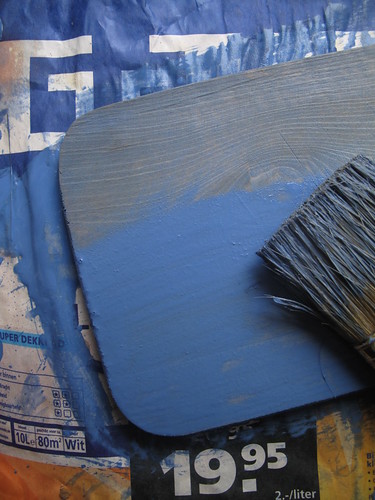
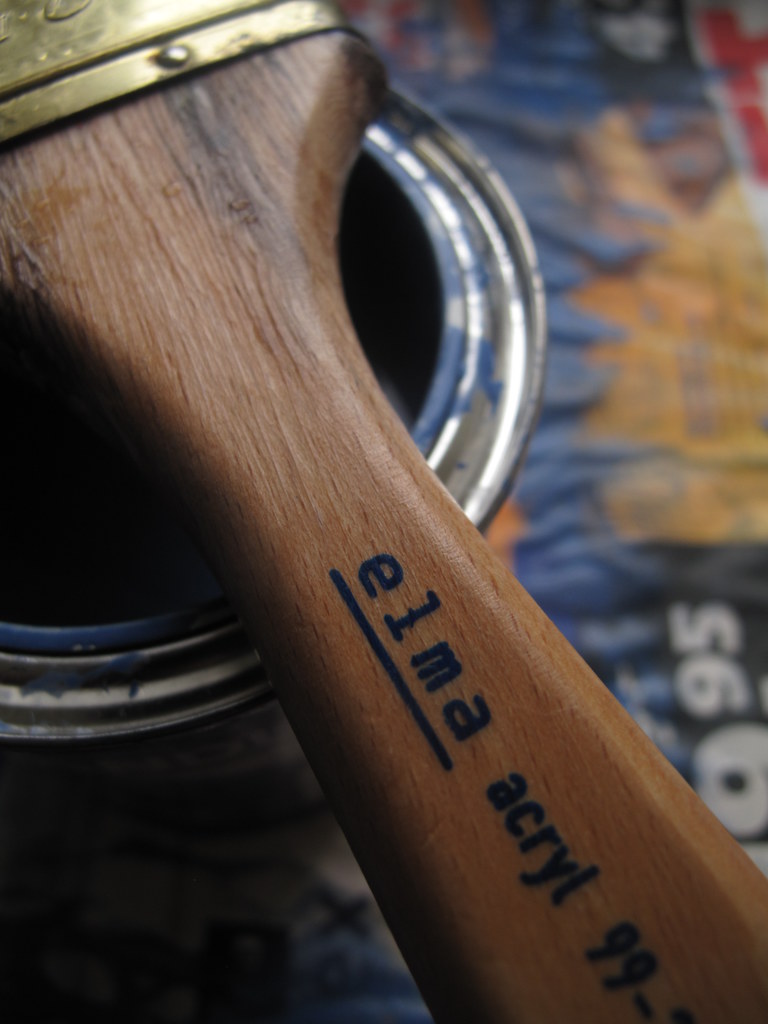
Ikea, again your garage/home stores, craft stores, DIY shops and even supermarkets are superb hunting grounds for a variety of paint to work into your design projects. I got a can of blue paint – a rather large one though for a  few euros. Someday, I may embark on painting our dining table a cool blue….perhaps not. I’m sure you can find smaller tins/tubes to experiment with. And to be honest, it wasn’t at all a big deal. I simply followed the instructions on the tin of paint, ensured my workspace was well-ventilated and got to work.

IMG_9611 IMG_9609IMG_9598 IMG_9593

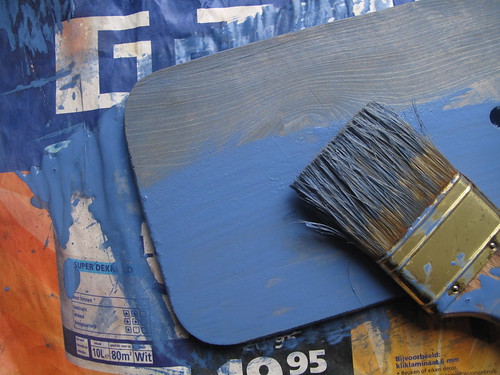
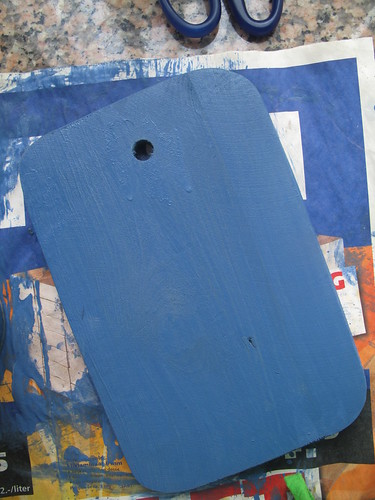
After a couple of coats, I decided that I wanted richer colour and applied two more coats. In a day, my board was ready. For use. And that’s step 3. for the next step.

IMG_9600

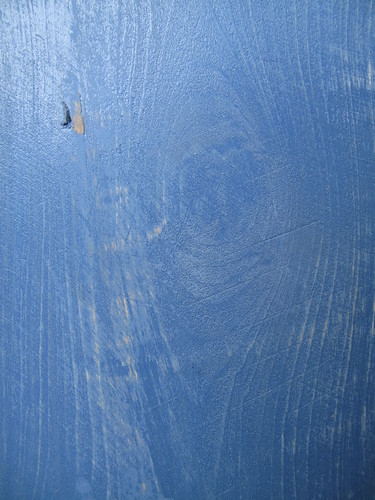
Step 3: Sandpaper to highlight wood grain (optional)

Thanks to Kris of Bake in Paris, who left a comment after I published this post:  ‘Just an idea… you might want to use sand paper to scrub on the blue surface to achieve unfinished look.. you can highlight the wood grain in this way too’. So I did. And updated the text.

IMG_9942IMG_1648

Step 4: Dive in and use

Decide how you want to the painted boards to feature. Like I did and while this isn’t ‘great’ use of the board, I have more planned!

IMG_1683

Other cool links

llva of Lucullian Delight’s Food Props on Sunday, Part 2 (of 8), on backgrounds

Diane of White on Rice couple on Food Blog Forum, Making textured backdrops for food photography
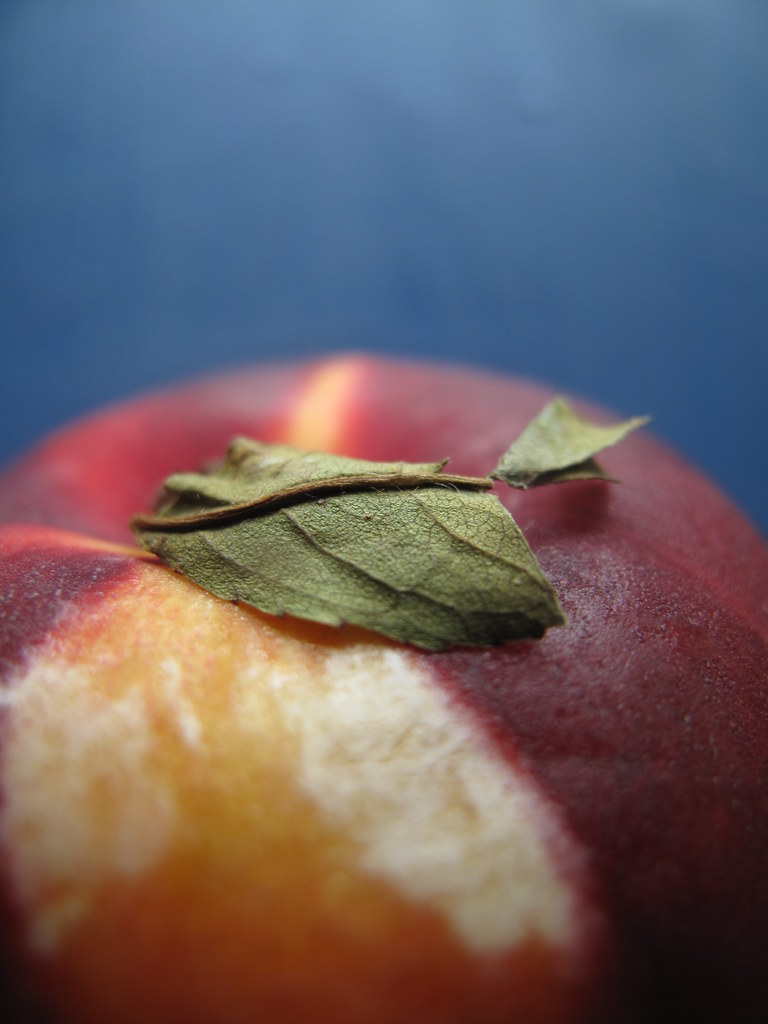
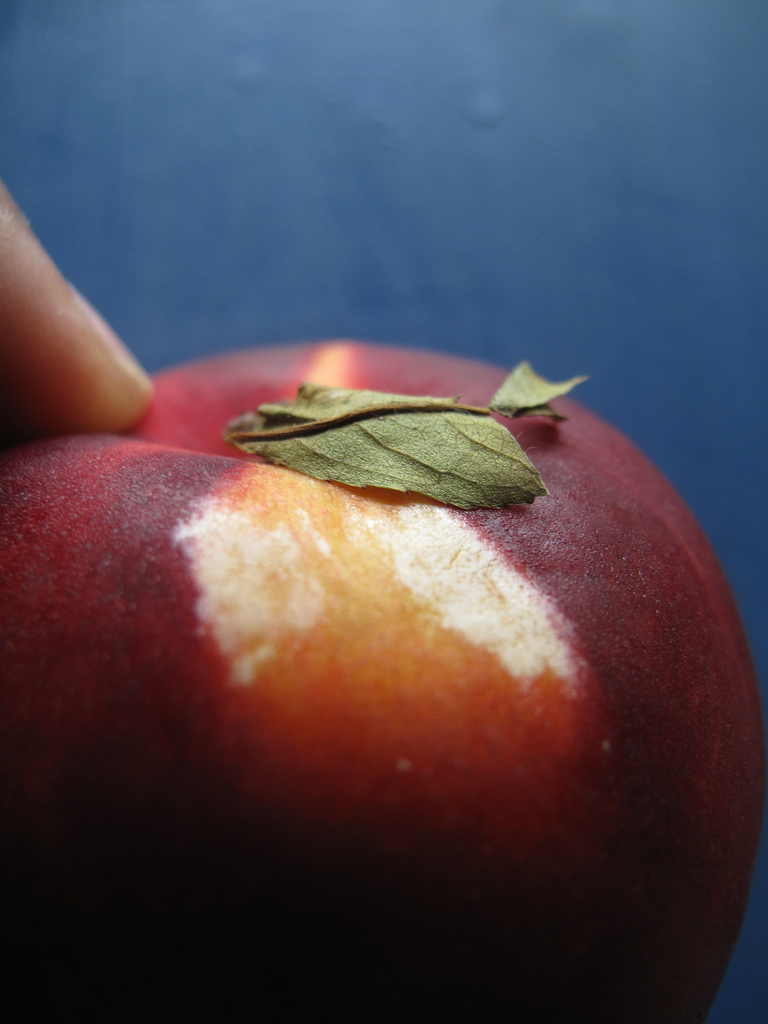
IMG_0057What are you favourite backgrounds for your food photos?

[wpurp-searchable-recipe]Palates & Palettes: Painting Backgrounds for Food Photography – – – [/wpurp-searchable-recipe]

30 Comments

  1. Such a clever idea. I’ve been using scrapbook paper from the craft store, it’s inexpensive about $1.00 a sheet and you can toss them when they look to ratty.
    Mimi

  2. What a great idea! I have been using scrap book paper, my kitchen table, and deck for most of our photos. The only thing I don’t like about using paper is that it can get ruined so easily by spills. (which I am clumsily responsible for most of the time). I have been trying to think of some new things to do and I love this idea!

  3. WOW – that is an amazing effort. The colour is perfect. The photo is great. Wouldn’t it have been easier to prop a piece of coloured card stock on the wall for your colour? I need to take a photography course!
    🙂
    Valerie

    • Valerie dear, my fave photo-taking spot is by my kitchen window. It is a very tricky place to put up paper/card, cause all the light goes through, it isn’t stable…I could go on but I love to create and discover new things and this was one of them

  4. What a great lesson for all of us!! thanks for the tips! I use beautiful napkins in linnen or in colourful paper.

    Sometimes, I use placemats, nice fabric or my black wooden table as a fine contrast!

    Kisses from Brussels!

    • Thanks Anna, Conor, I hope you find the tips useful too. Promise you more!

      Shaz :-), this board is about A5, fit only for really tiny things!

  5. Great tips Oz! I went to my favourite paper shop and bought a stack of decorative paper in different colours/patterns to use as backdrops. The only drama is that they come in A4 size, so sometimes they’re not big enough to use 🙂

  6. Nice ideas that you shard with us. I try to keep my photographs very simple. For many photographs, I use a black table. If the sunlight is not harsh ( dusk is a good time), I will photograph by my rosemary bush on the patio.

    I really like the idea of painting wood. Great idea. Sometimes using colorful cutting boards are good too.

    • Margot, send me his email address and I can talk to him:-)

      Oyster Culture – thank you

      Alta – I’ll keep my eyes out for quilting patches!

      Velva – I love the black table cause I like the atmosphere dark backgrounds create

  7. Wow, love painting the wood! I have a wooden cutting board that’s worn that I sometimes use, but more often I use these small pieces of fabric (sold just for quilters).

  8. So long I’m asking my hubby to bring me some wood so I can paint for backgrounds… now he has no choice! 🙂

    I use mostly fabrics, old napkins I inherited after my granny or paper.

  9. Just an idea… you might want to use sand paper to scrub on the blue surface to achieve unfinished look.. you can highlight the wood grain in this way too..

    Sawadee from Bangkok,
    Kris

  10. Love this! I’m always looking for more photography tips and you have such beautiful photos…I know I can trust you! I love using my wood cutting board, but I’ve never thought of painting some wood scraps for variety. Great idea!

Leave a Reply

Your email address will not be published. Required fields are marked *

This site uses Akismet to reduce spam. Learn how your comment data is processed.