Soba noodles rock and if you like them hot, I bet you’d love ’em cold.
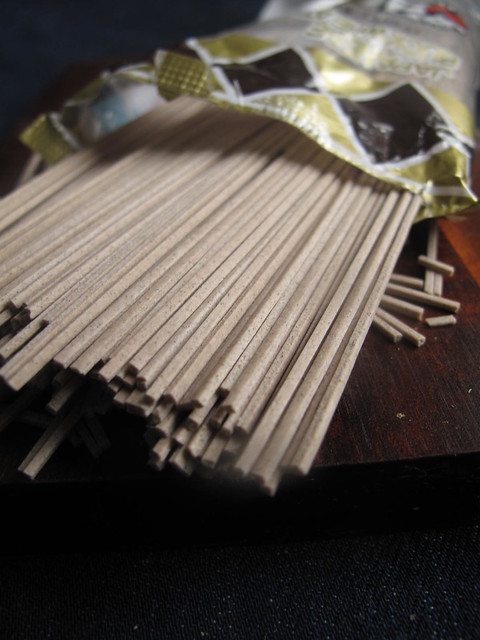
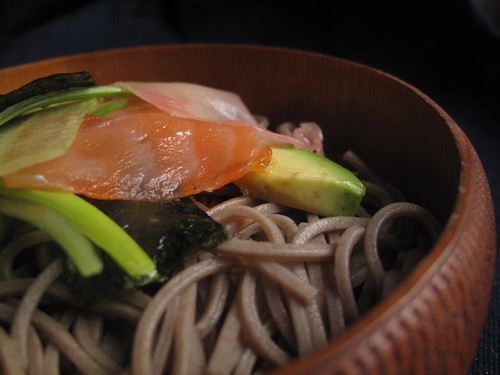 This month’s Daring’s Cooks challenge seemed light and I welcomed it – a bowl of cold soba noodles and some tempura. And while both had to be made, I began with the noodles. And saved the Tempura for another time.
Blog-checking lines: The February 2011 Daring Cooks’ challenge was hosted by Lisa of Blueberry Girl. She challenged Daring Cooks to make Hiyashi Soba and Tempura. She has various sources for her challenge including japanesefood.about.com, pinkbites.com, and itsybitsyfoodies.com
Note: The most important thing is not to overcook your noodles, or you will end up with a gelatinous mass. Have a bowl of cold water and ice standing by, and once you have drained and rinsed your soba place it in the water. The great thing is once that’s done you can leave it in the fridge for up to a couple of hours and it will still be nice and fresh. Take your time and complete each step all of these items work well prepared beforehand, so don’t rush.
Tempura batter is traditionally mixed in small batches using chopsticks for only a few seconds, leaving lumps in the mixture that, along with the cold batter temperature, result in the unique fluffy and crisp tempura structure when cooked. The batter is often kept cold by adding ice, or by placing the bowl inside a larger bowl with ice in it. Over-mixing the batter will result in activation of wheat gluten, which causes the flour mixture to become chewy and dough-like when fried.
Mandatory Items: As long as some form of Tempura vegetable or seafood and a cold noodle salad is made feel free to shine. Please respect Japanese cooking/eating by keeping your food, clean, fresh and simple.
Variations allowed: The great thing about this dish is it allows for so many variations. Vegans and Vegetarians just omit any of the meat toppings and let the vegetables shine. This dish is very adaptable, so feel free to use your favorite gluten free noodles and flour. Make something that you can eat and enjoy, because that is what food is about. As soba may be difficult to obtain in some areas, please feel free to use whatever thin noodles you can get, preferably Asian. If anyone wants to be especially Daring, feel free to make your own noodles!
You’ll find the Daring Cooks recipe here.
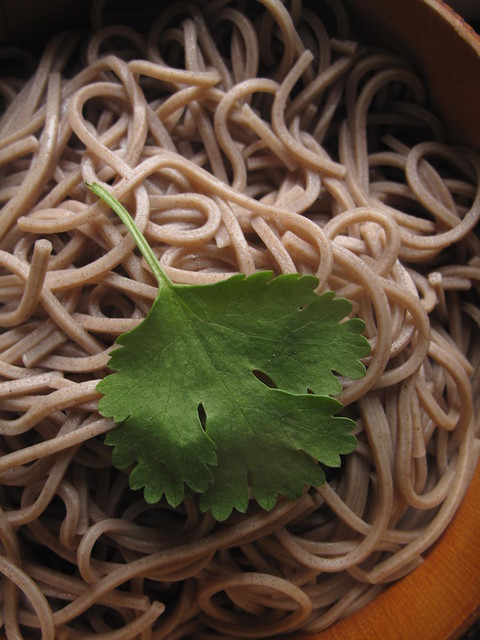
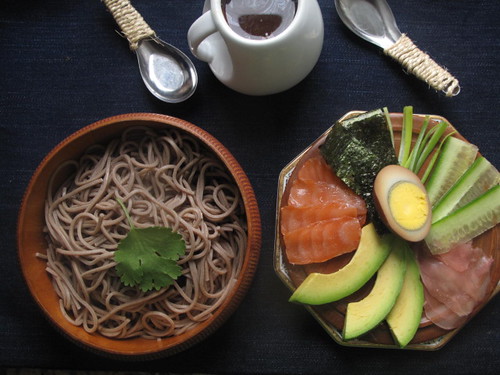
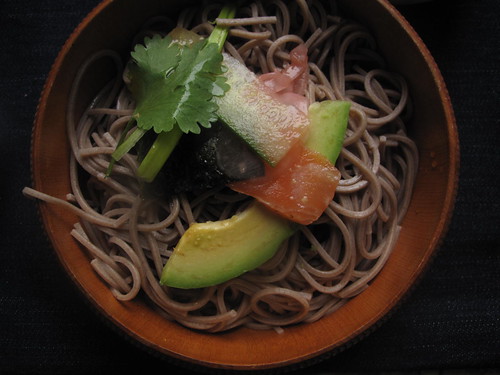
 I decided to put some leftovers to good use and loved, loved, loved the way the dish came together: First there was the liquid base – some stock from my ramen adventures, then came the soba noodles which I boiled and rinsed in ice cold water. And then topped with a singular coriander leaf.
Then I began putting together the other toppings.
First there was Shoyu Tamago – Japanese boiled eggs coloured a dark copper with soy sauce. Source, La Fuji Mama on Rasa Malaysia. Time to make? 5 minutes. Deliciousness?…..on the spot. Now some caution,don’t be tempted (like I was), to cook the eggs for longer than 5 minutes because the result will be tough and salty albumen. La Fuji Mama prefers to use Tamari, I just had regular soy sauce so I used that and spiced it up with some chile paste.
Soy Sauce Eggs Recipe (Shoyu Tamago), Makes 4 servings
Ingredients:
4 hard boiled eggs 5 tablespoons tamari soy sauce Splash of chile sauce or some chile pasteHow to
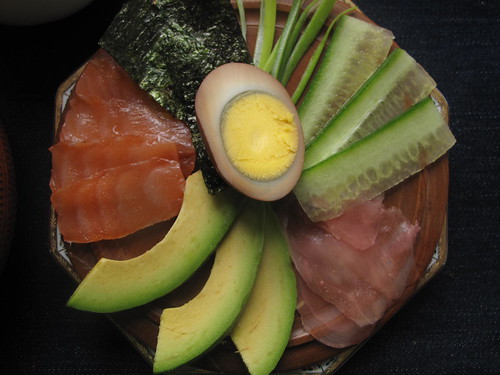
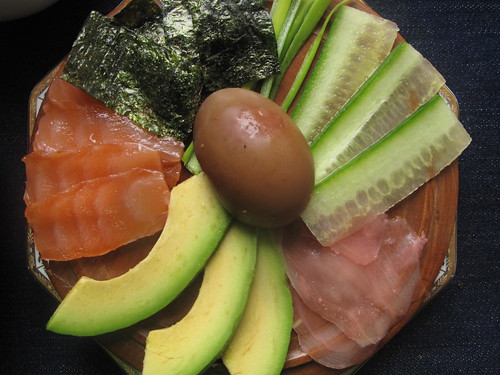
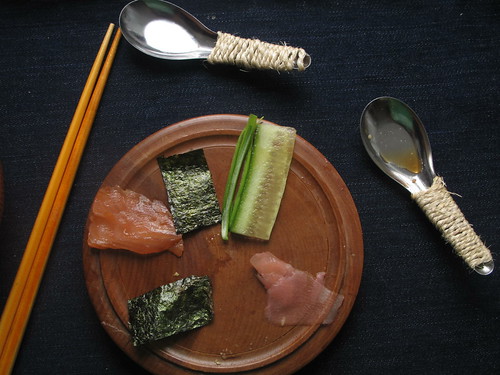
1. Pour the soy sauce into a pan that is approximately 10 inches in diameter. Heat the soy sauce of medium-high heat. When the soy sauce starts foaming up, reduce the heat to medium heat and carefully add the eggs. Roll the eggs around in the soy sauce to coat them, and continue rolling them around the pan until the eggs are a dark mahogany color and the soy sauce has been reduced to a thick sludge. 2. Remove the eggs, letting any extra soy sauce drain off, and place on a plate to cool. 3. When the eggs have cooled completely, pack them into lunches or enjoy one as a snack. Just don’t leave them near my daughter, or else you’ll never get to have a bite!I didn’t have to do much more – I sliced up some cured salmon in thin strips, made pretty cucumber flats, peeled and cut some avocado on the slant, toasted some nori sheets till they transformed from a dark green to an iridescent, shimmering green and then opened up a pack of the most deliciously sweet and fragrant pickled pink ginger.
And then I sat down to enjoy it all. Wow.
Japanese cuisine is now my new favourite. No jokes. I know some like it hot and some like it cold, and this is one case where cold food rocks. The broth was smooth and luxurious and the noodles had heft, but not overly so. The salmon was like fine sashimi, balanced with the creaminess of the avocado, the refreshing crispness of the cucumbers, spiciness from both spring onions and ginger with the centrepiece of a boiled egg half. And oh yes, the nori served its purpose, lending a slight sea fishiness to the dish. I loved it.
Since I didn’t make the tempura (but I will at a future date), I decided to share a ‘How To Make Training Chopsticks, also known as ‘The Art of ‘Training Chopsticks’.
If you ever love chopsticks but struggle with using them, or are not Asian and you think fine finger motor skills are for kids, welcome home. Hopefully, this post will put paid to that little dilemma with my ‘Training Chopsticks tutorial’.
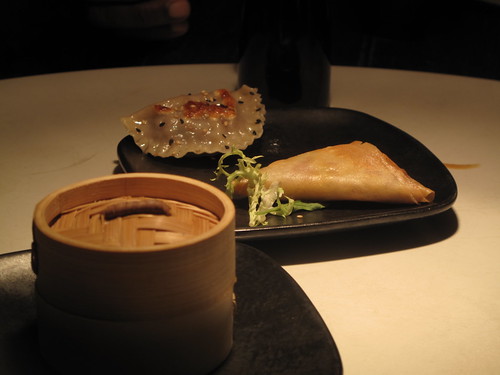
It all began in Barcelona over dinner in a dark and barely lit Chinese restaurant where the chef tossed green veggies in a pan while we looked on admiringly through the thick Perspex that protected him from angry diners and us for the smokiness of oil, soy sauce, ginger and garlic.
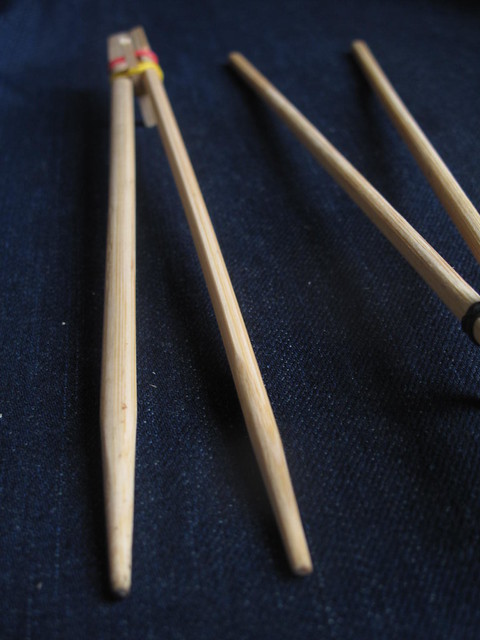
When our tables were laid, the kids got given ‘Training chopsticks’ which I thought were super-neat – chopsticks, a small piece of wood and some rubber bands resulted in an ingenious construction.
We had a nice enough dinner and left with two sets of the eating sticks.
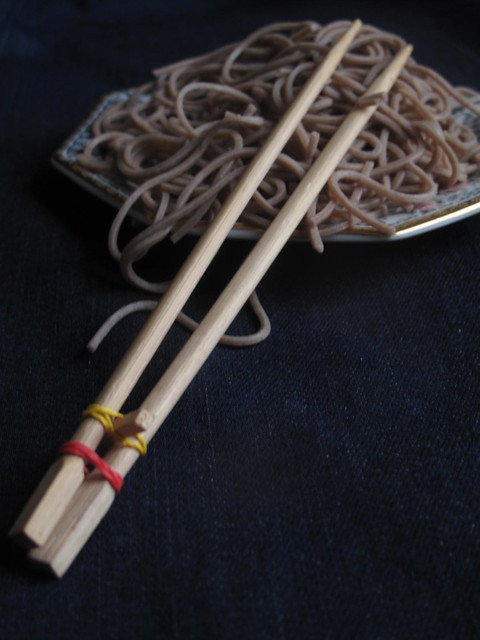
A pair of the chopsticks were employed by my Nigerian friend when she ate her way through a bowl of ramen. My daughter applied them with her warm bowl of soba noodles and you too can impress friends, family, colleagues and others.
Training Chopsticks
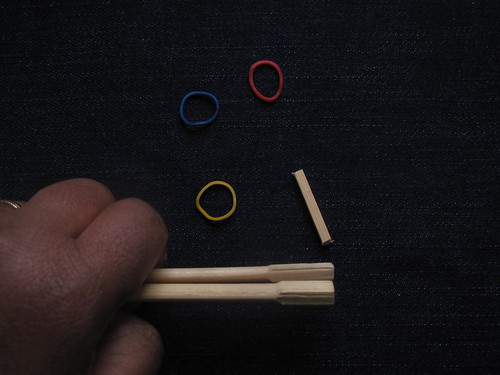
To make one set of training chopsticks, You’ll need the following
A pair of wooden chopsticks 2- 3 rubber bands, a couple of cm in diameter (feel free to colour-coordinate) A 1 ½ – 2 inch piece of a chopstickLay out your apparatus
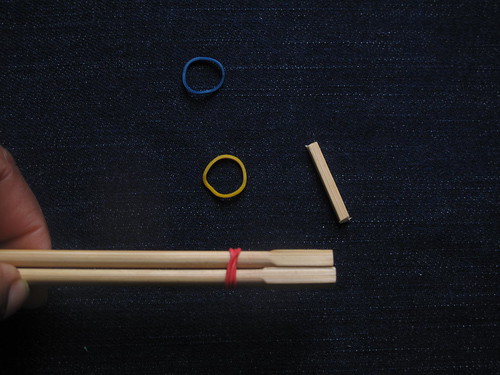
Put your chopsticks together and wrap a rubber band around both, about an inch from the base
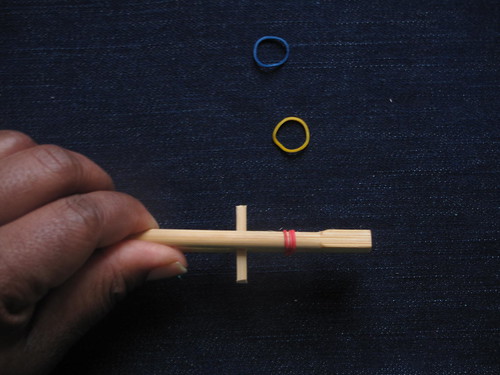
Then rest the small piece between the chopsticks, on the ‘landing pad the rubber band provides. The next step is securing the small piece of wood with a rubberband.
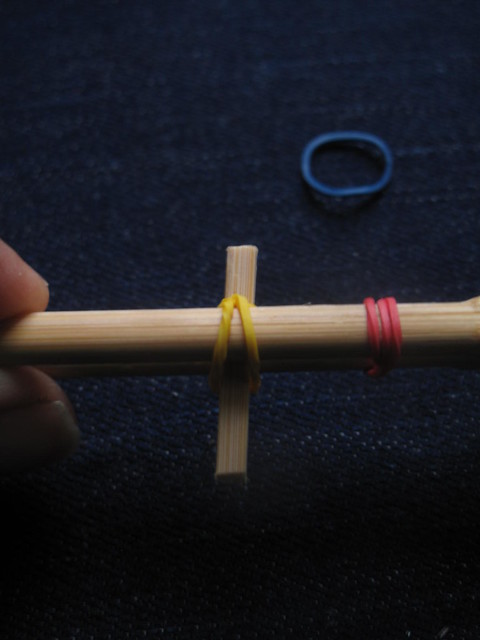
Starting on the outside, hook the rubberband on the piece of wood poking out and bring the rubber band round to the otherside. Then repeat till the rubber band is snuggly wrapped round.
Your homemade training chopsticks are ready for food.
What you should end up with is a pair of chopsticks which have a gentle lever system provided by the wooden see saw and the spring of the elastic bands. The top of the chopsticks should be a few inches apart in the rest state.
Enjoy your training chopsticks, even if you never use them! Have a wonderful weekend and stay well.[wpurp-searchable-recipe]February With The Daring Cooks: Cold & Soba – – – [/wpurp-searchable-recipe]



Leave a Reply