Chicken skewers are quick, easy and you can prep all the elements a few hours before.
Make ahead tips
If using wooden skewers, soak them in water at least an hour before you skewer the ingredients – just so the skewers don’t burn.
Prep your ingredients – note that food shrinks to varying degrees, your chicken will be about 2/3rds of its normal size, your vegetables too so try and gauge what you’d like the final outcome to be once cooked and adjust the prep sizes accordingly.
I like to skewer my ingredients on in a pattern, starting and ending with vegetables even down to the colour of – just a personal preference.
I like to use dry rubs, a drizzle of oil and a splash of acidity – citrus juice, vinegar. I generally use a 2:1 oil to acid ratio.
Lay out your finished skewers on a baking tray and refrigerate in the coldest part of the fridge (or the top part of the freezer if you don’t have constant power) up to 12 hours ahead.
Option 2 – Chicken & Vegetable Skewers
Ingredients
4 boneless, skinless chicken breasts, cut into 2cm/1in pieces
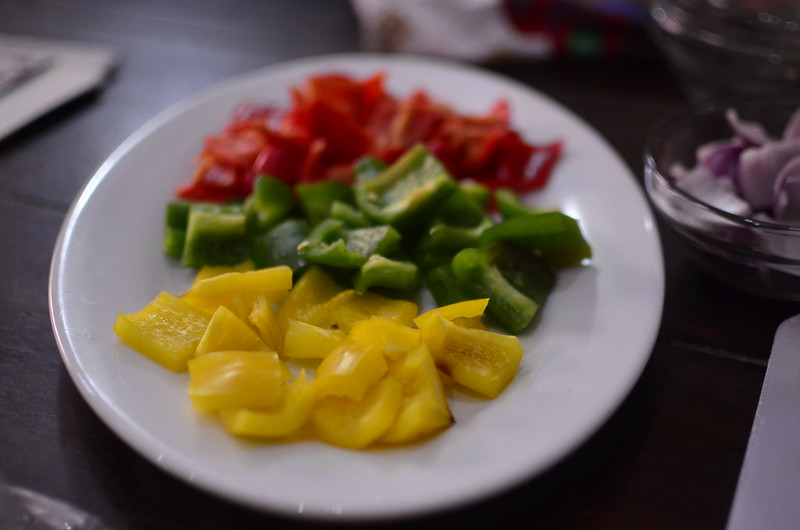
Mixed Bell Peppers for colour, cut into 1 inch pieces
Onions, cut into 1 inch pieces
Seasoning – suya spice, sharwarma spice, any other spice blends
Method
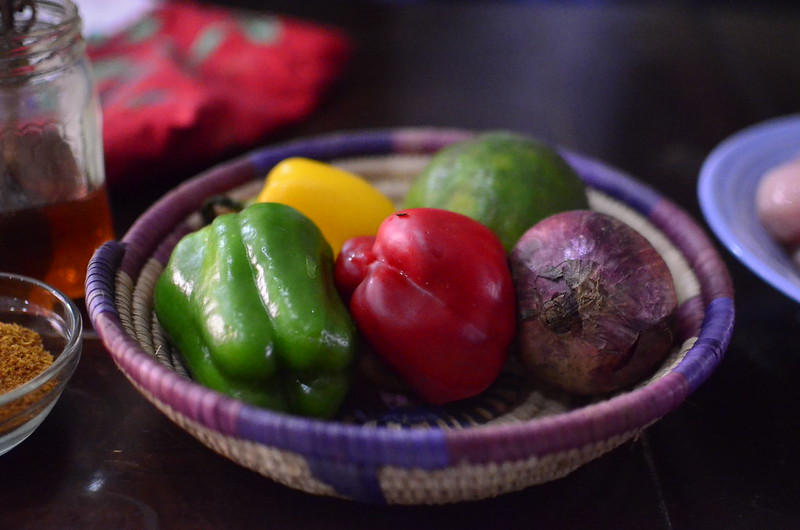
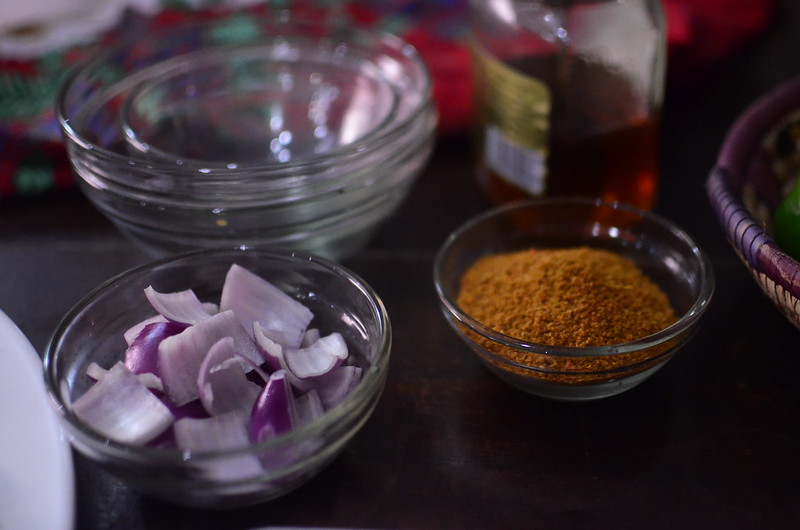
Gather and prep your ingredients.
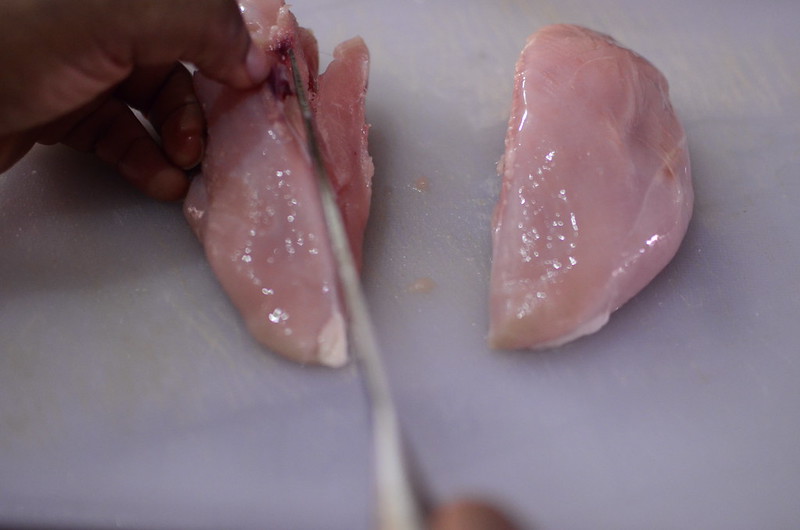
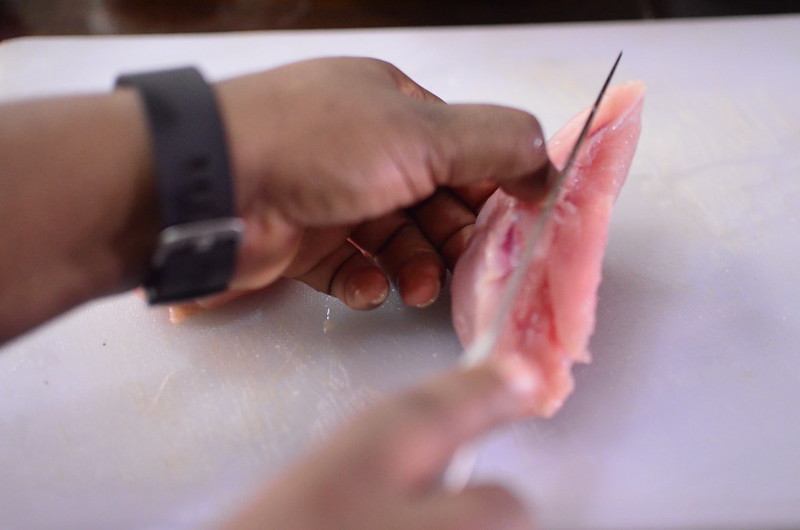
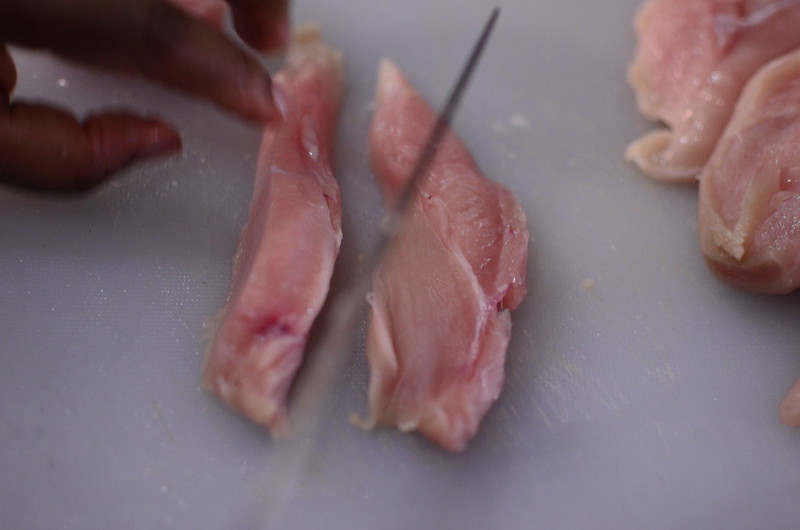
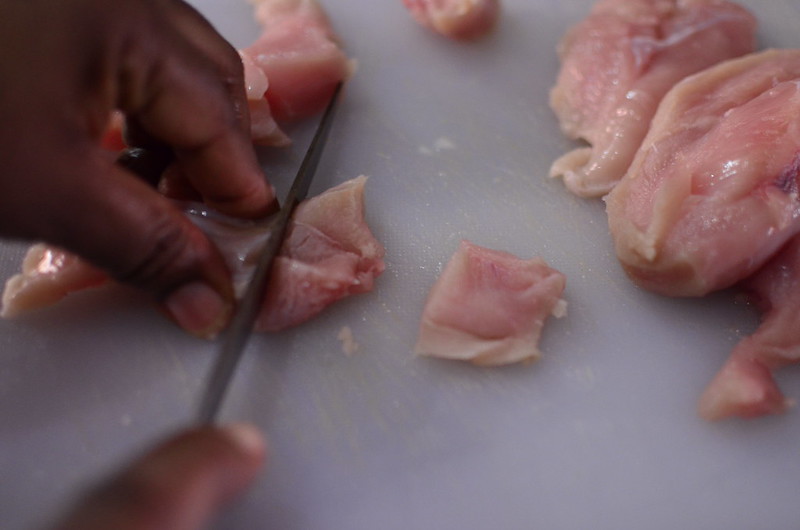
Prepare your chicken cubes. I cut up the breasts –
Slicing each in half across.
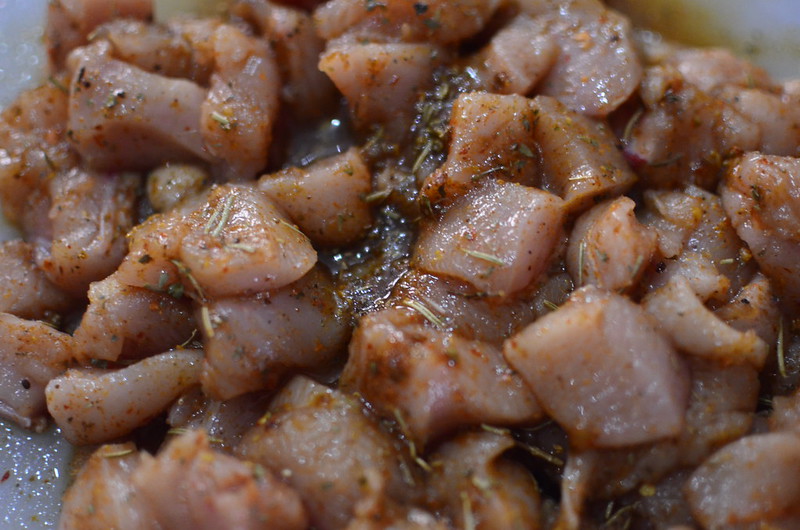
Then into cubes which then get seasoned.
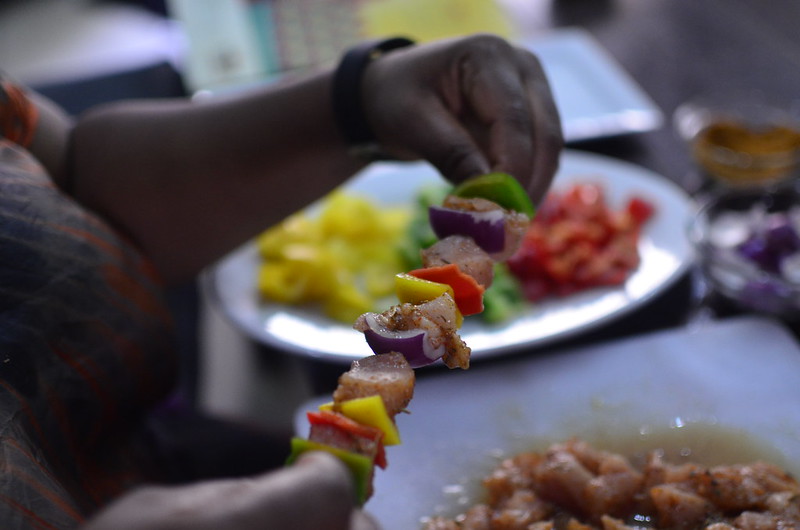
And then you thread – I like to make patterns, starting with a particular vegetable/ colour and ending with the same.
Advice – don’t press the meat down – so it bunches up. This will cause uneven cooking.
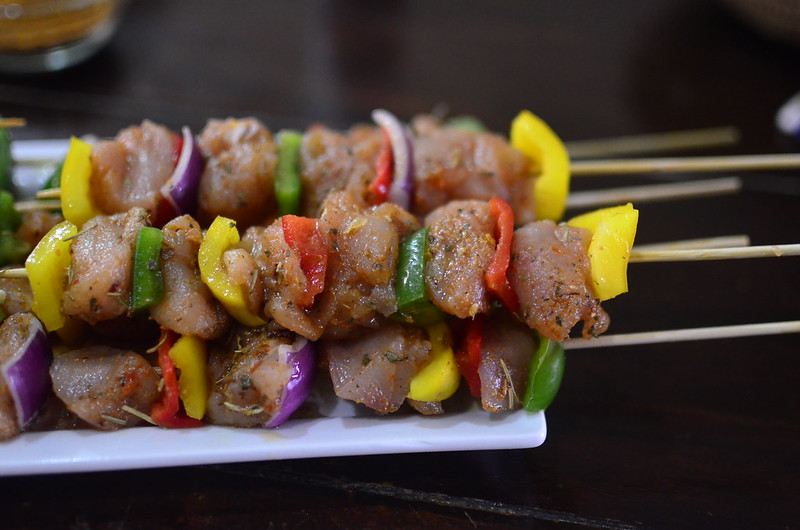
I have 5-6 pieces of chicken on each skewer.
Once I’m done, I drizzle whatever is left of the marinade and put the chicken on a foil lined, greased tray, covered in clingfilm or aluminum foil. It goes in the fridge or the freezer from where I cook directly.
To cook:
• Pre-heat the oven to 190 degrees Celsius (370 F)
• Place the prepared skewers in the centre of the oven for 20 mins, turning once, until the chicken is cooked through.
Let the chicken cool on the tray – this will give it time to ‘rest’ but also help it release gently from the foil/ pan.
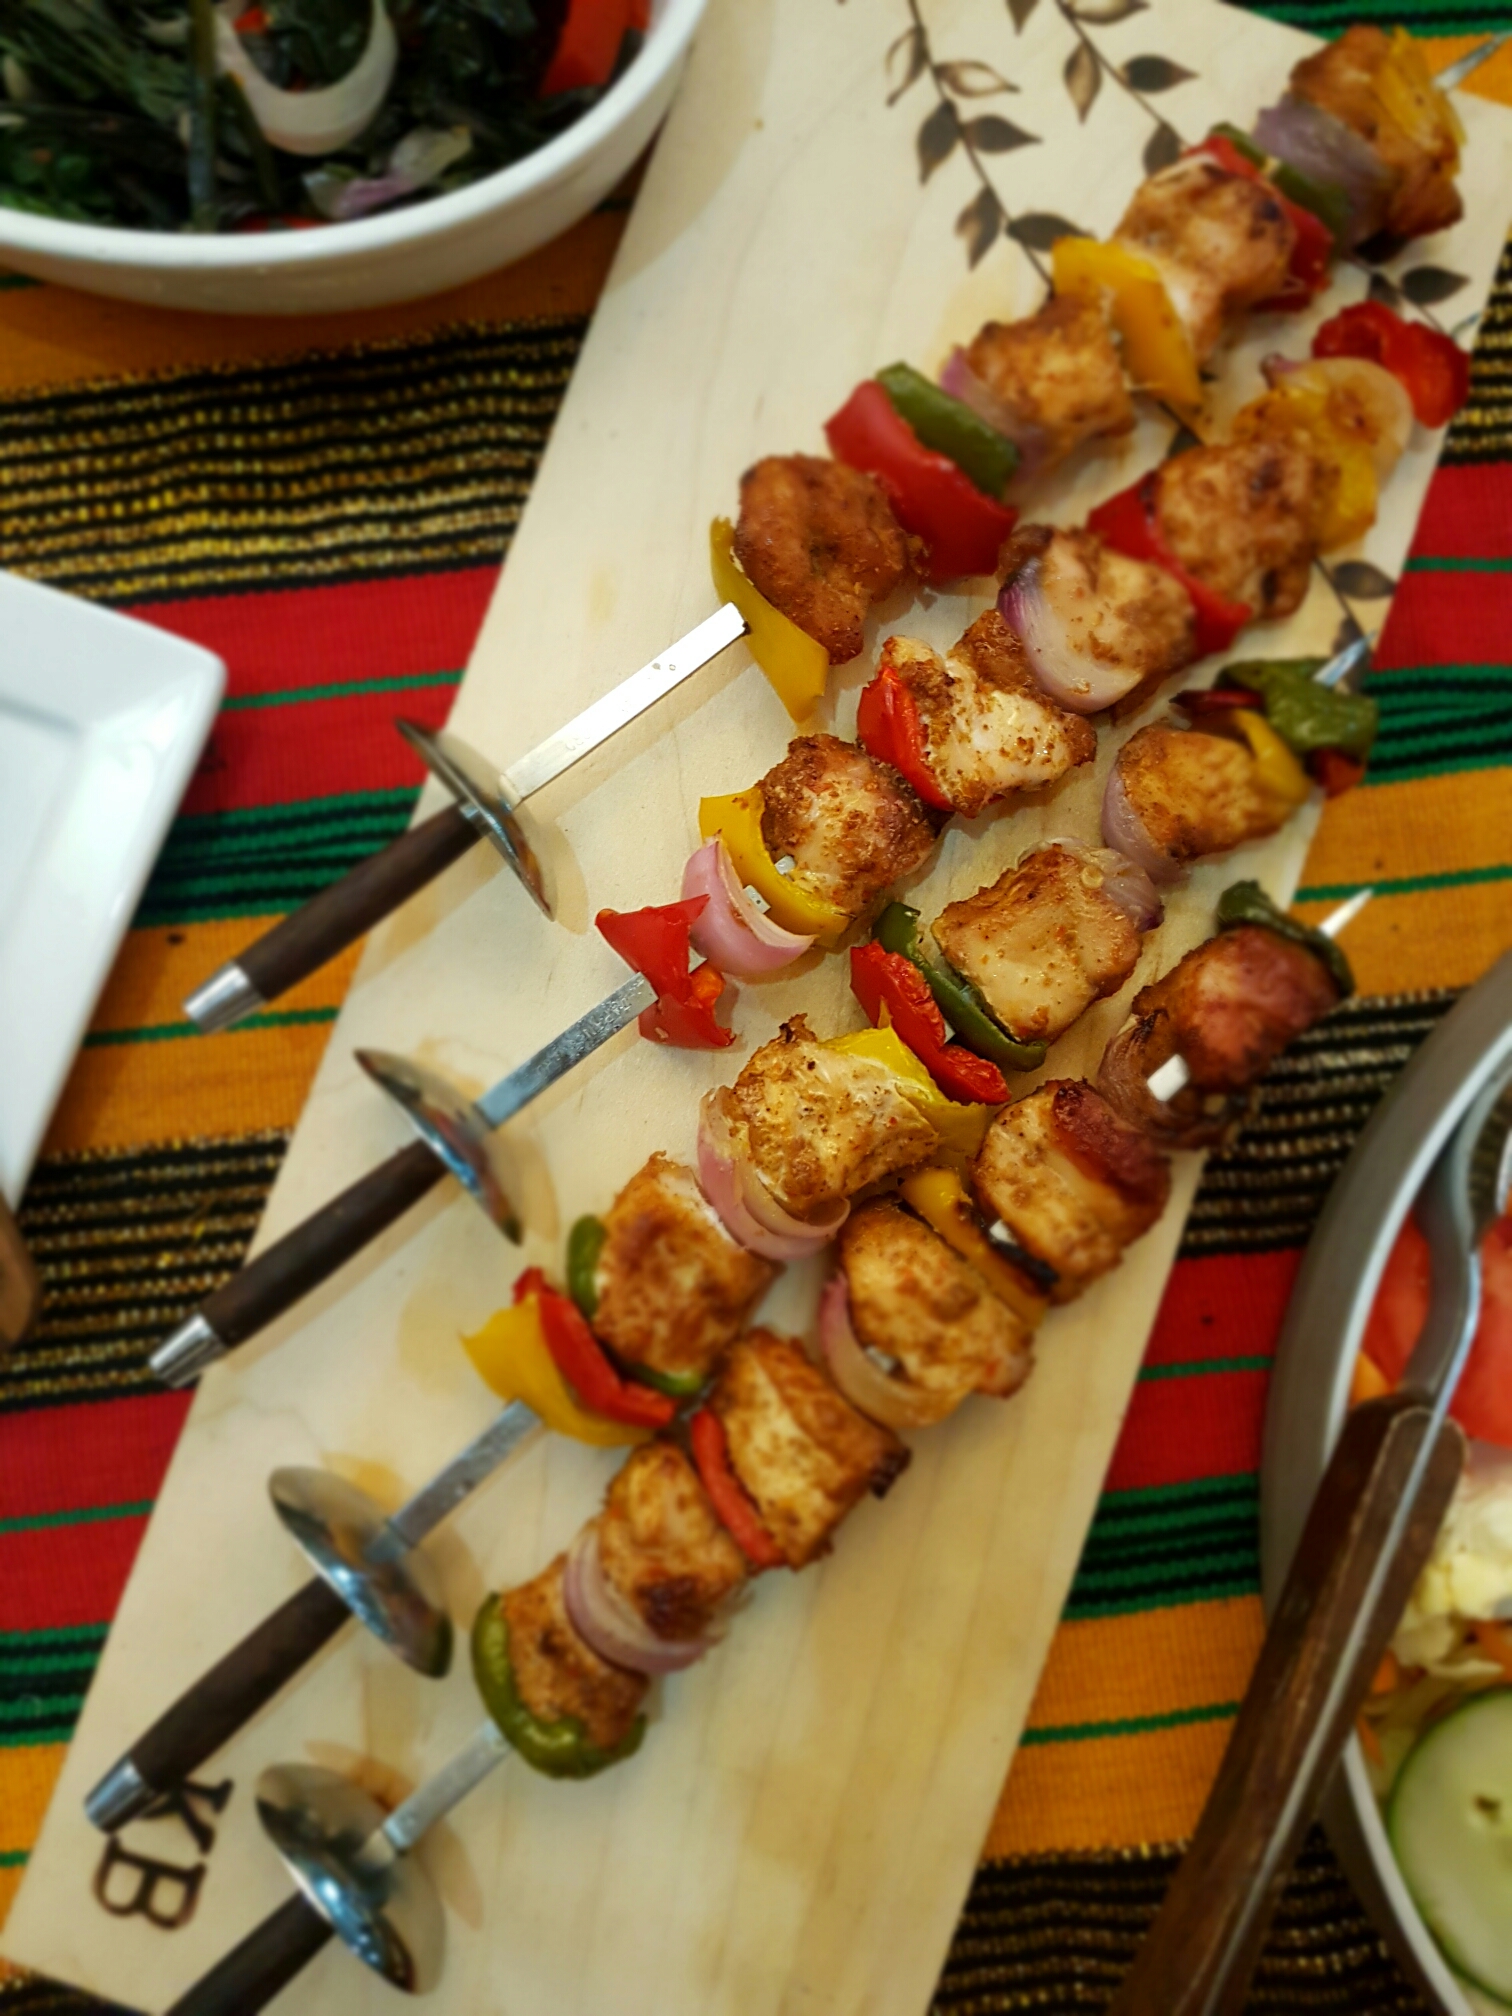
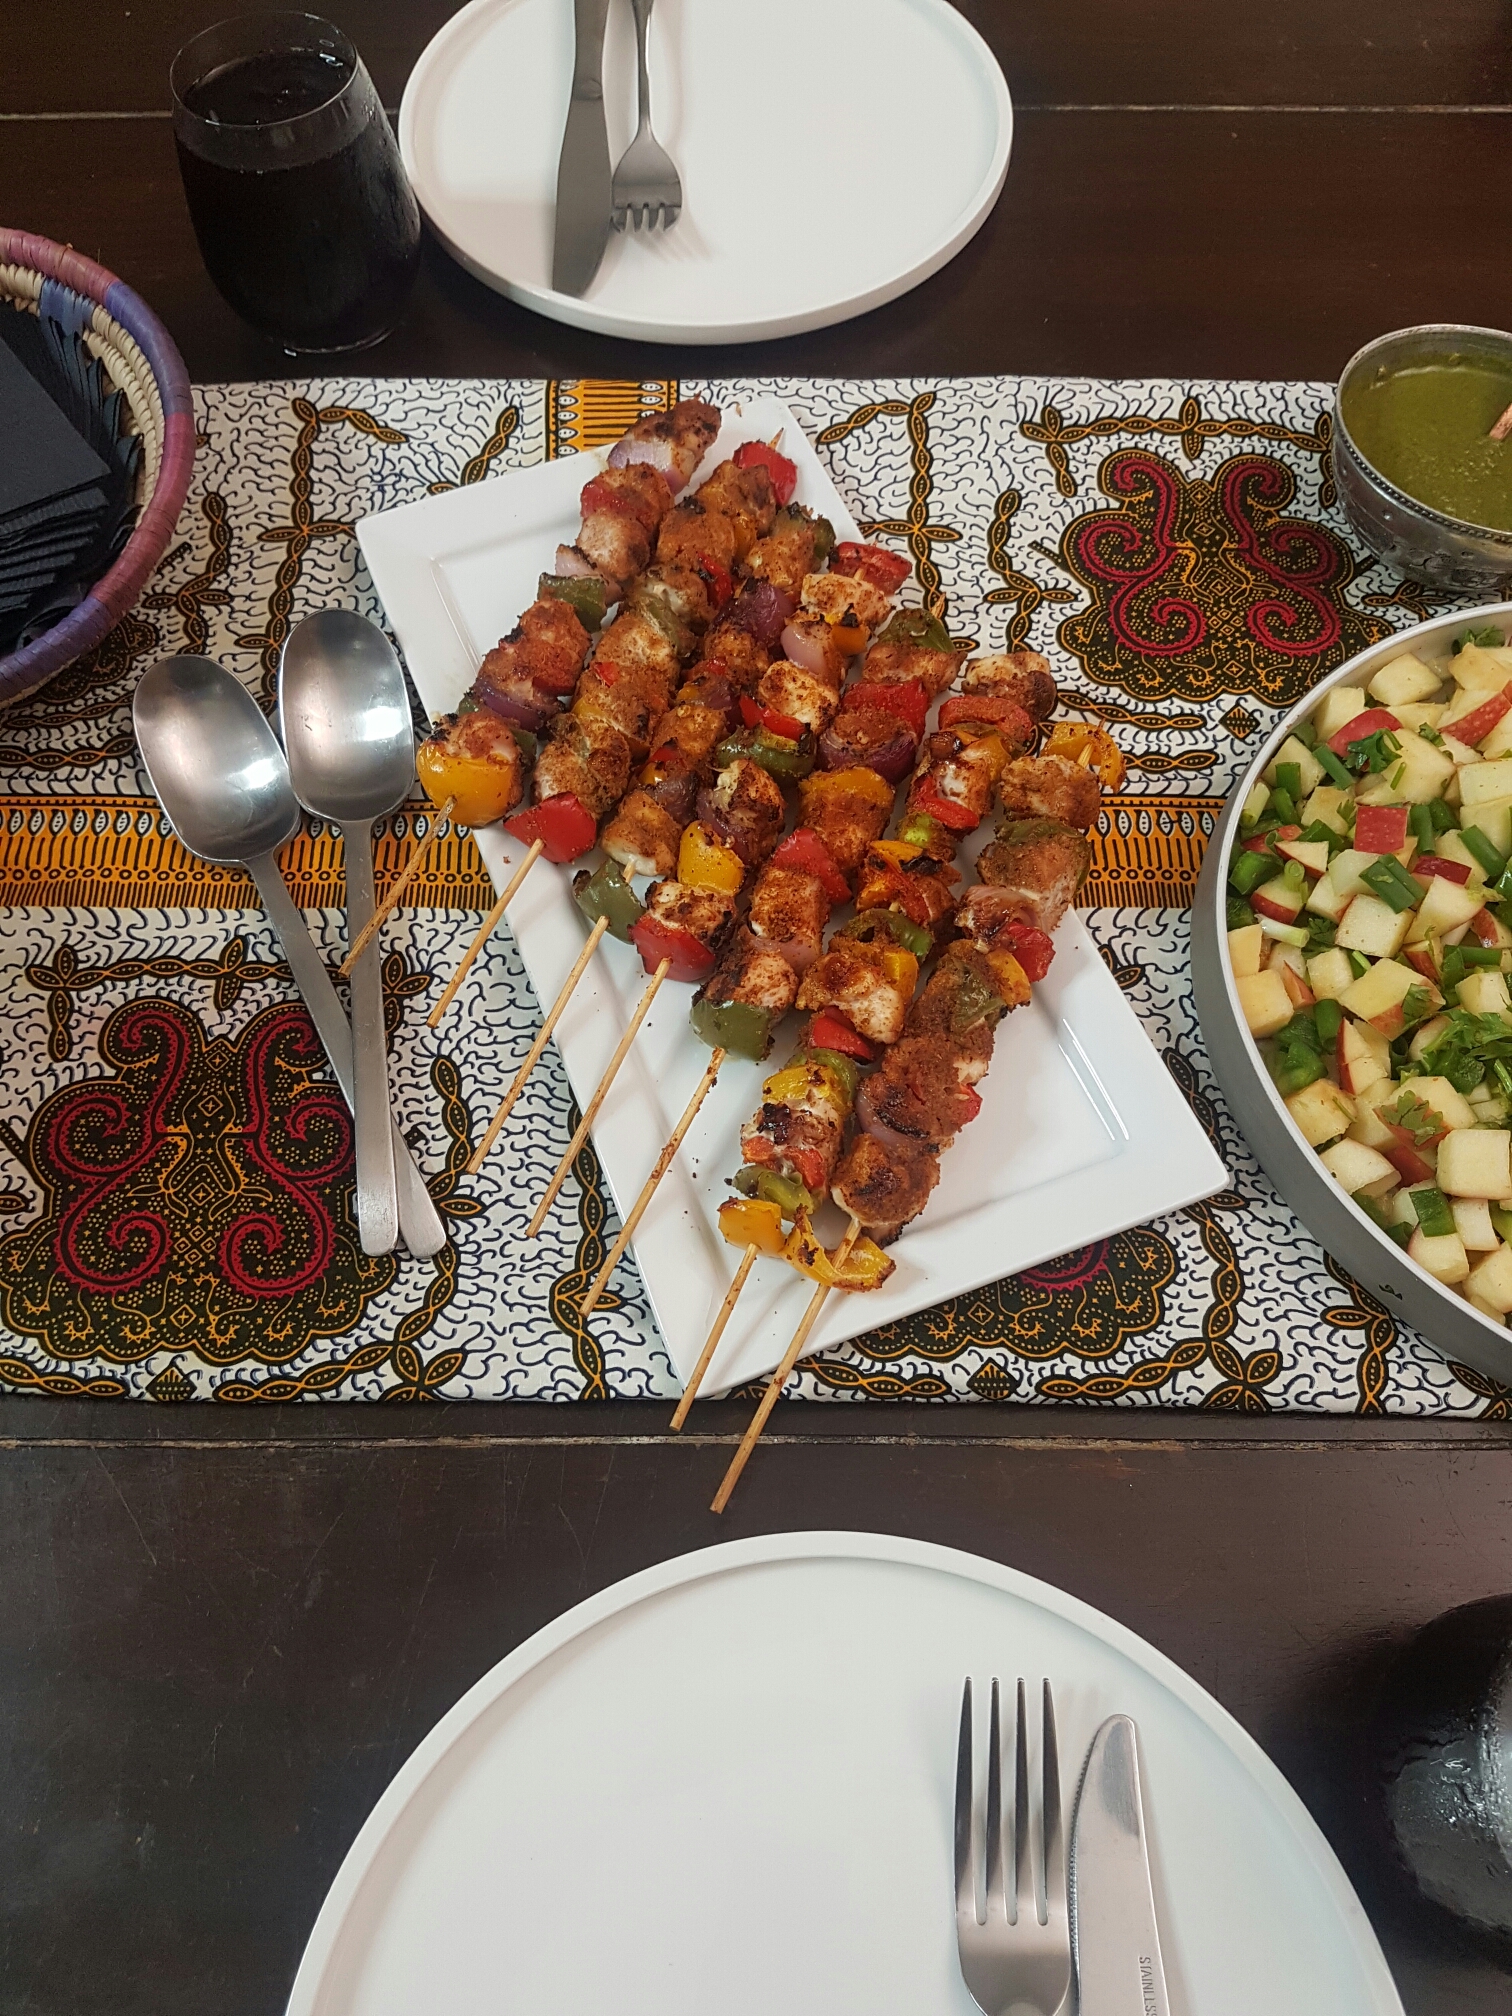
I make this often – as you can see…and it’s a winner every single time. No one waiting for a roast to be carved – everyone picks up a stick or three 🙂 and food is underway.
What vegetables would you use?


Leave a Reply